


|
Step 1 - Introduction & Preperation Step 2 - Drawing & Building your Car Part 1 Part 2 Part 3 Step 3 - Coloring your Car |
Step 4 - Adjusting Car Scale & Alignment Step 5 - Adding Car Wheels Step 6 - Setting up Car Stat & Physics Step 7 - Test Driving your Car |
|
Step 2 - Drawing & Building Your Car
Now that we have made the sides of the car, the hard part is over as we should be able to make the front side and back side of the car easily and also cover its top and bottom sides easily because we have most of the locations of the points already measured and written. Let's get a new sheet of paper and draw the car from its front! Because we are drawing the car from the front this time the X Axis is present. We are going to draw it in the X and Y Axis. And we already have most of the measurements in X and Y from the sides of the car we have created. We start by drawing the X and Y Axis first then using the ruler and the measurements we already have, we draw the car's front outline. 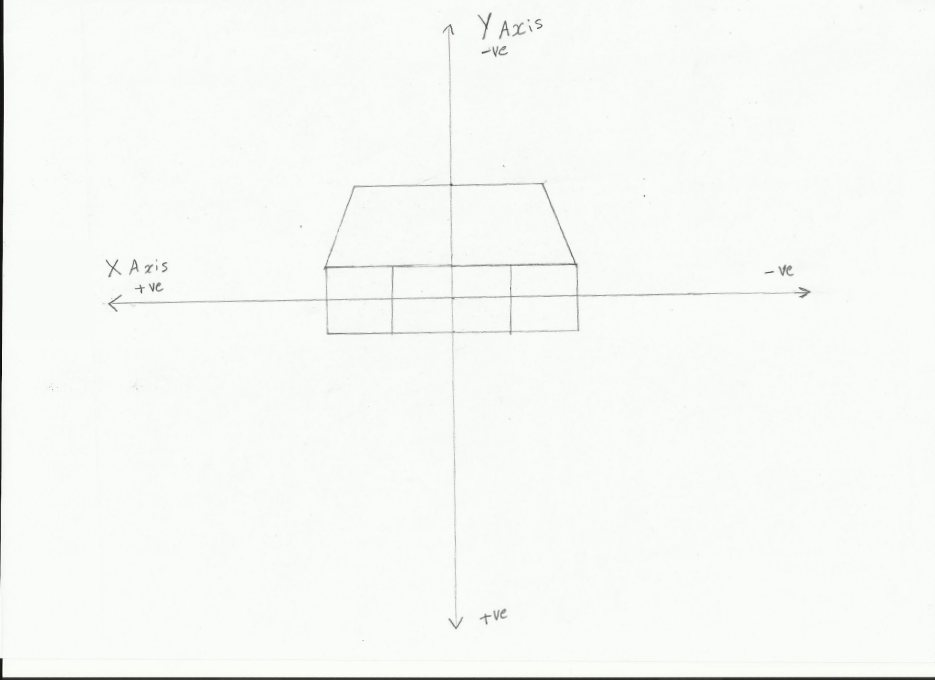
Let's mark write down the points of the outline, the points we already have. 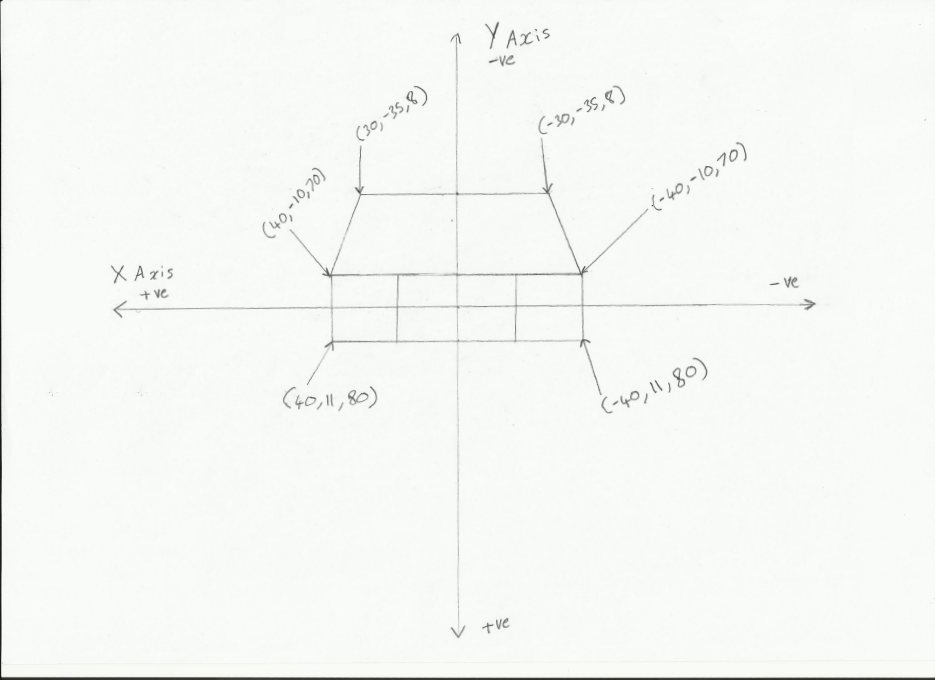
Have you drawn your front of your car yet with the marked points you already have? Now let's measure the points we don't have and create front lights for our car as well: 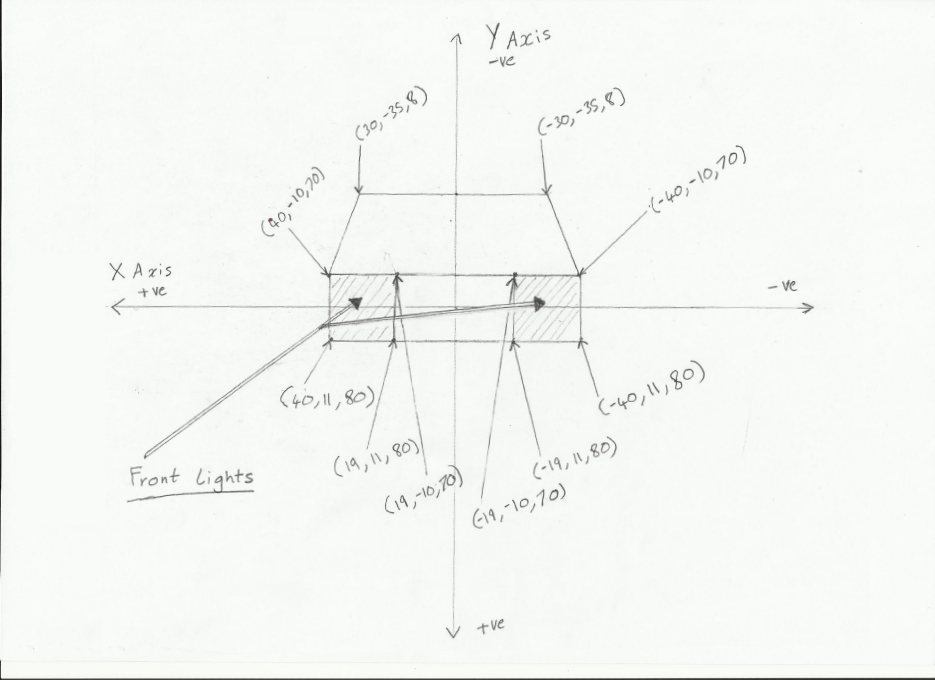
In the drawing above you can see we have drawn and marked very simple and boxy front lights for our car out of two pieces. Please do the same for your front car drawing as well. Now let's enter these pieces in the car maker. To identify that these pieces are front lights, we are going to type the word "lightF" right under the c(r,g,b) of those pieces, like so: 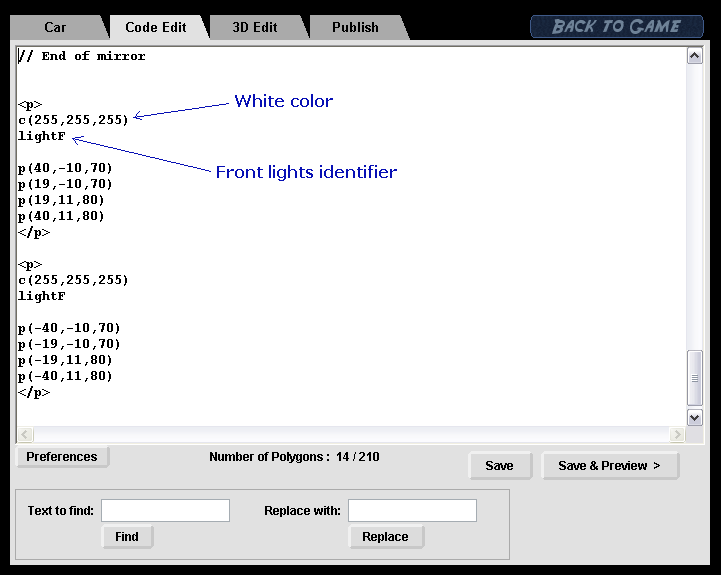
The "lightF" front lights identifier makes the piece glow in the dark (when the stage is defined as a dark) like front lights should glow. Have you created your front lights and identified them? Good. And here is a look at what our front lights look in the 3D Edit: 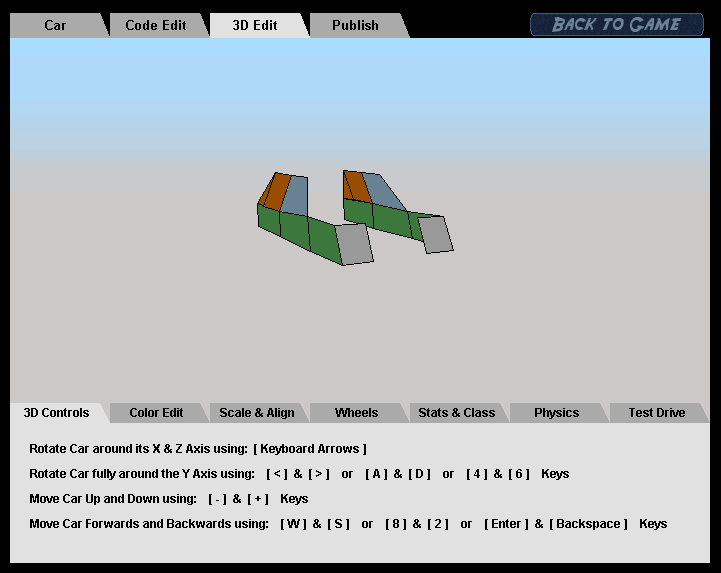
Now please notice that: With the points we already have, we can easily cover up the rest of the car's front and even add the front glass as well! 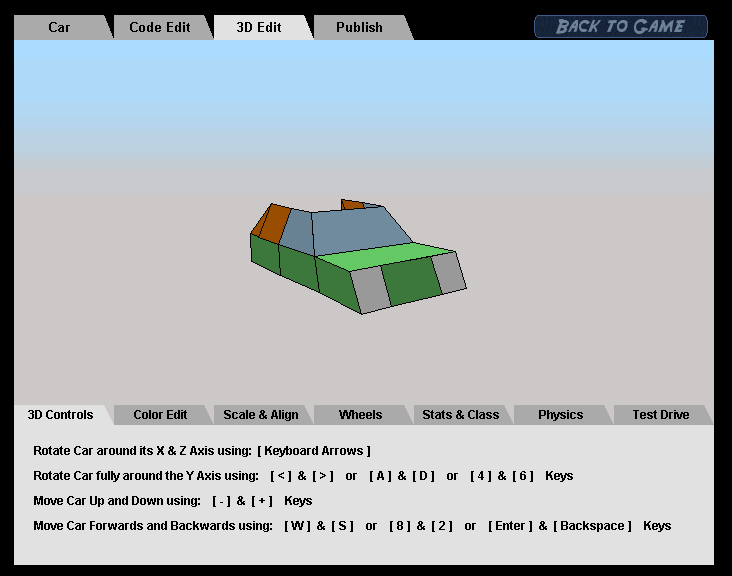
And we can also cover up the top of the car using the points we have too! 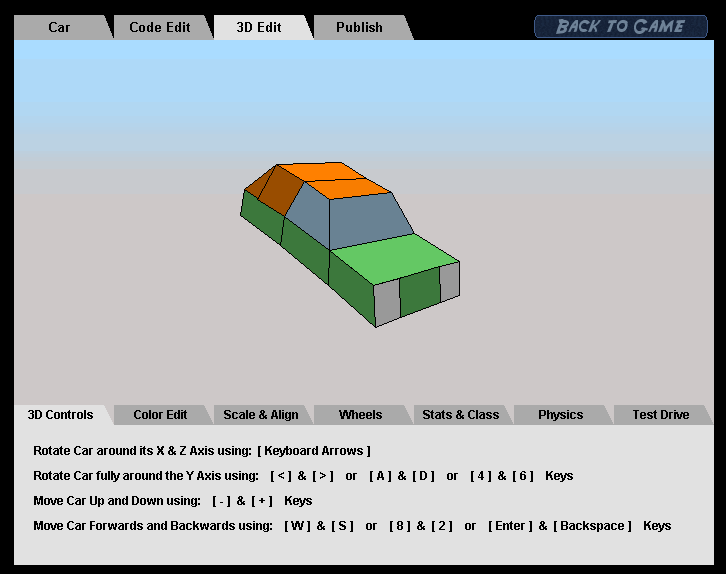
Have you covered up your front and top part of your car yet? Please take a moment to do so. Now, similarly to the way we made the front lights of the car, we are going to make the back lights as well. And also we are going to identify the back lights with an identifier which will make them glow in the dark, this identifier makes them glow like back lights should glow. The identifier for the back lights is: "lightB". After drawing the back lights and measuring them, here they are typed in: 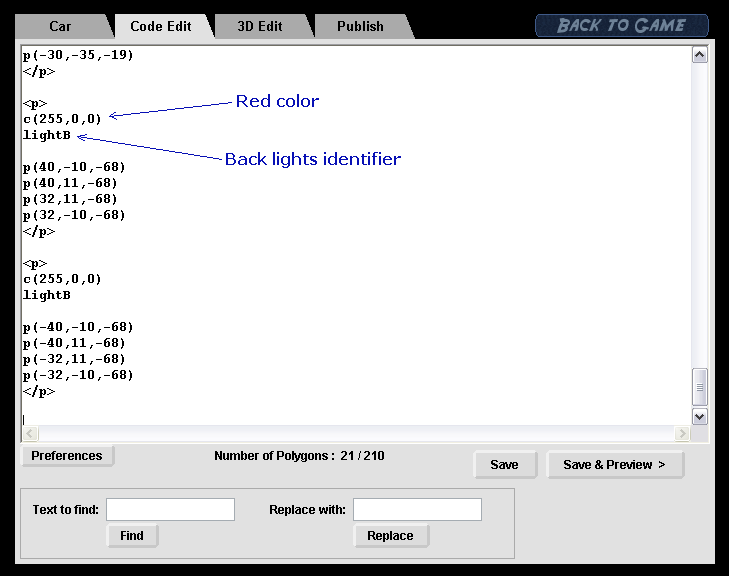
And here is how our back lights look in 3D: 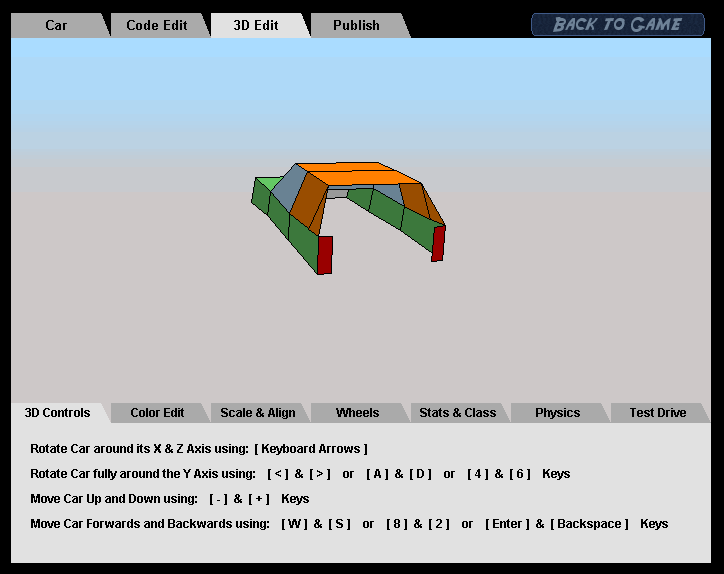
Similarly let's cover the back of the car using the points we already have, just like we did with the front of the car and let's add a glass piece at the back as well: 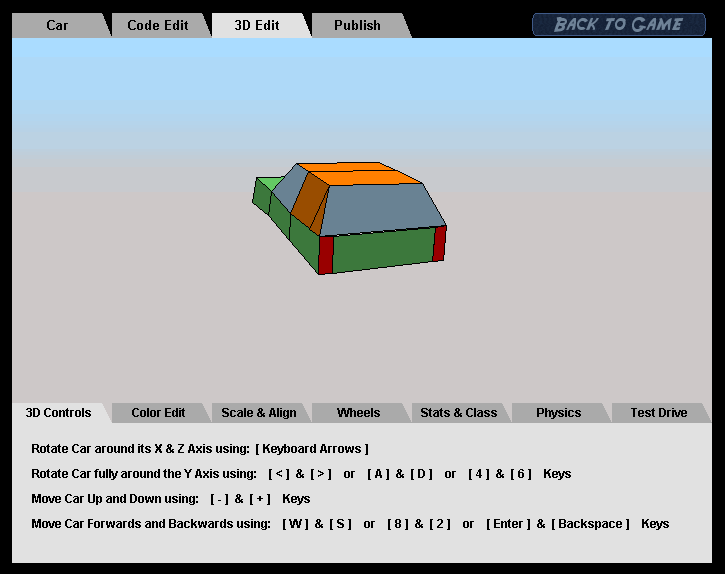
Now let's cover the car from the bottom part: 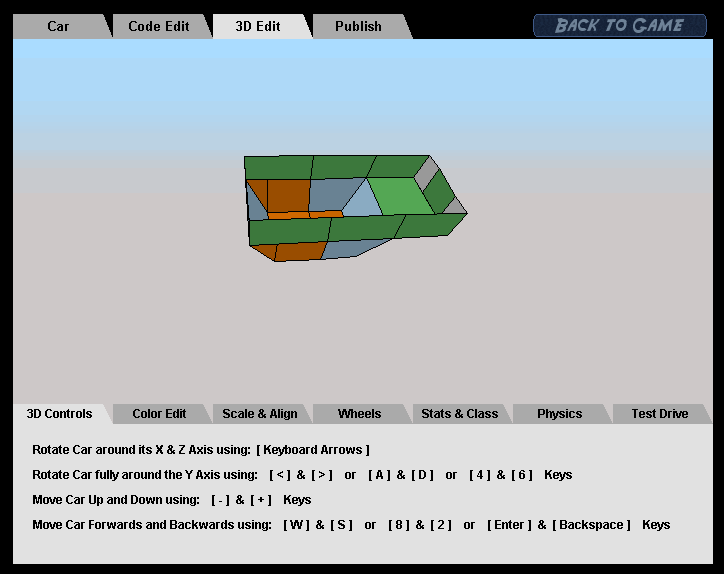
Usually we cover car's bottom with a dark grey color to give a more realistic look, a grey like c(70,70,70) for example: 
Have you covered the bottom of your car as well? Great, now the 3D Model of the car is complete! Congratulations, you have just built your first 3D model car! The steps to come from now one are going to be a lot easier. Please note in this tutorial to make things easier, in the beginning when we drew the car from its side, we gave all our X values a 0 value. We gave them a 0 value to not have to get into imagining the car in 3D right from the start. (We then later on pushed the car outwards by giving all the X locations a 40 value...) This is not very good, normally when you draw a car first from its side you should also factor in and imagine the X location of the points as you draw it right from the start. This is how most of the Need for Madness cars where created; drawn from the side with the X locations imagined and written down. In some cases you may need to draw the car from the top as well (in the X and Z Axis while imagining the Y Axis), if the car has more details when viewed form the top (this is how Formula 7 was drawn). And here are some examples of the original drawings made for some Need for Madness cars: Original drawing of Mighty Eight, from its side: 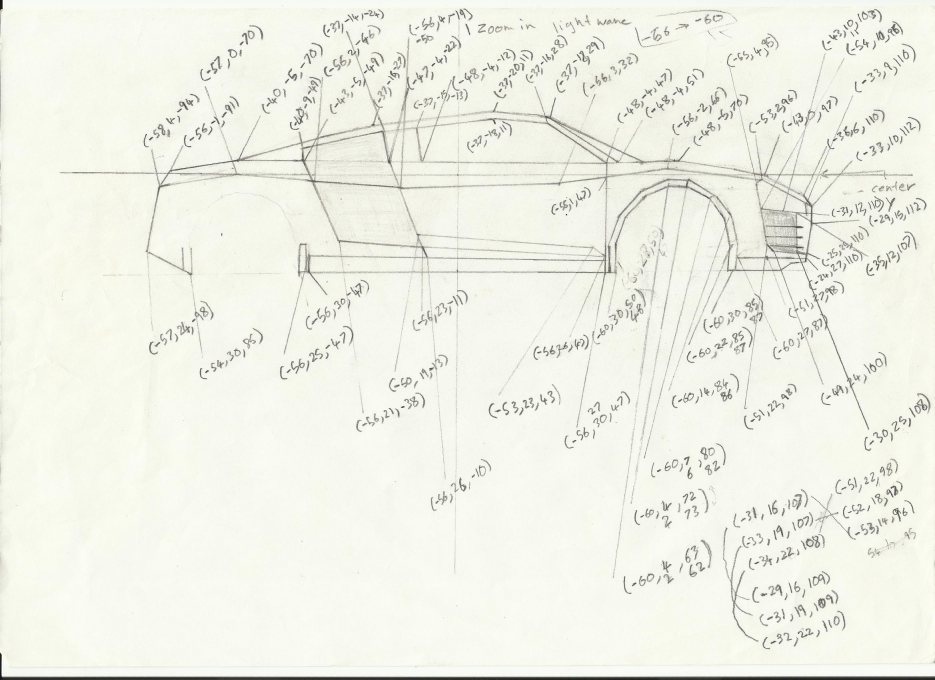
Mighty Eight, from its front and back: 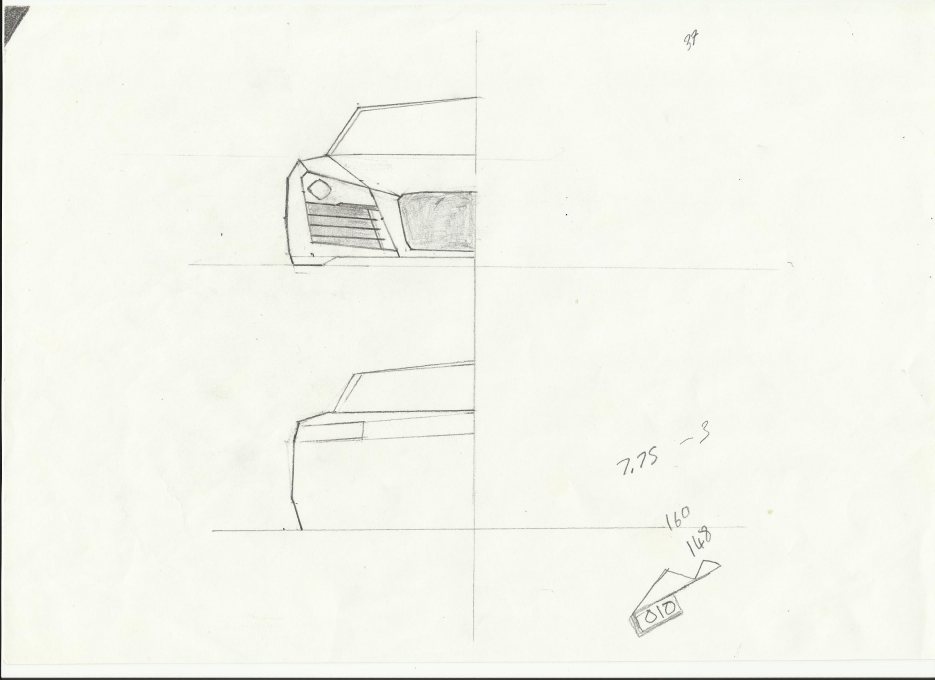
Formula 7, side and top (there was no need to draw it from the front or back): 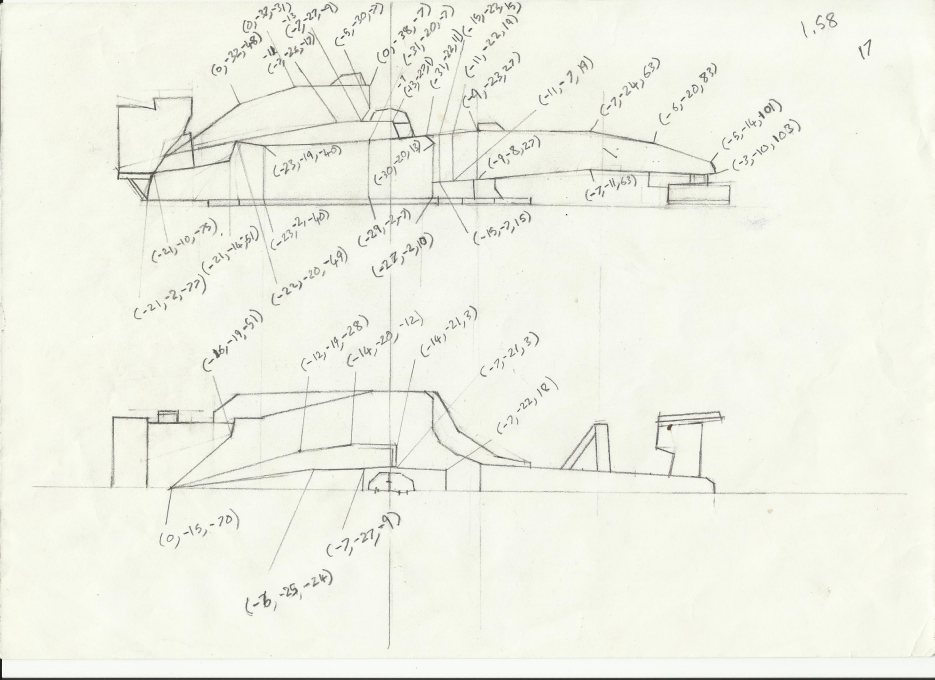
Kool Kat, from its side: 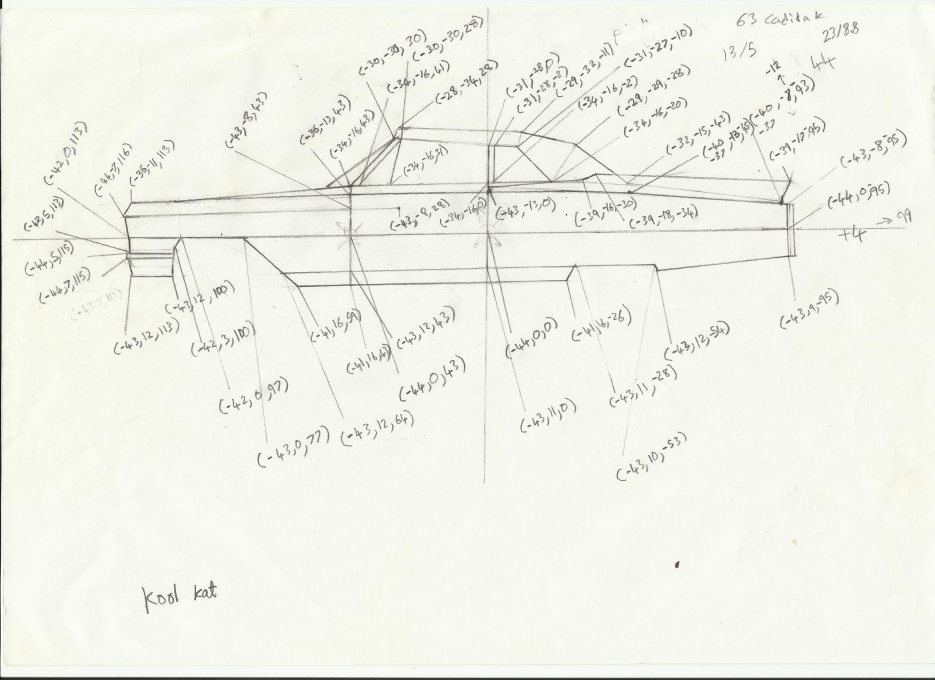
An easy way to get your car drawing more accurate or close to a real car (if you are drawing a car based on a real car), is to find real images of that car in different poses like the top, left and front and try to imitate the images on your drawing. For example, this image of the left side of a 63 Cadillac was the image used for drawing of Kool Kat (above): 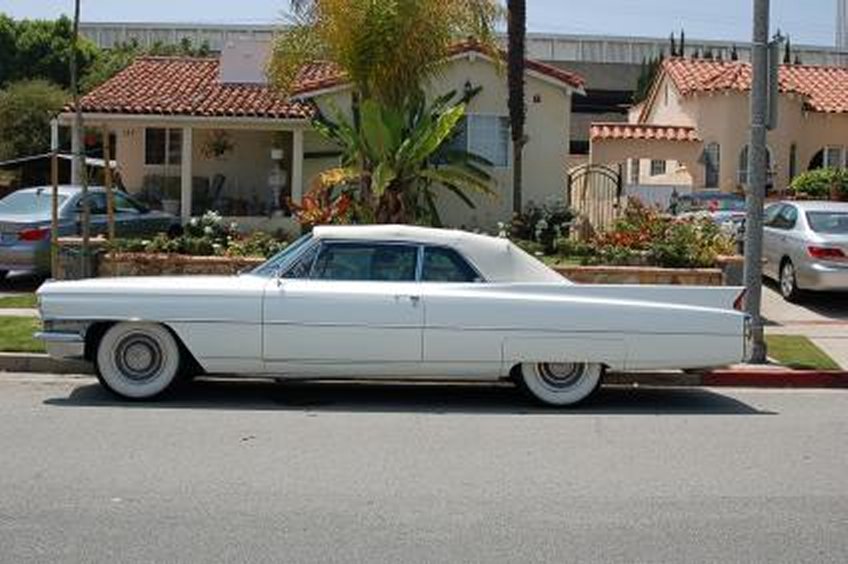
Of course it is advised to build simple cars at first and then as you improve and get the hang of it move on too more advanced and complex cars step by step. Alright now let's go to Step 3 of this tutorial, Coloring your Car!
|